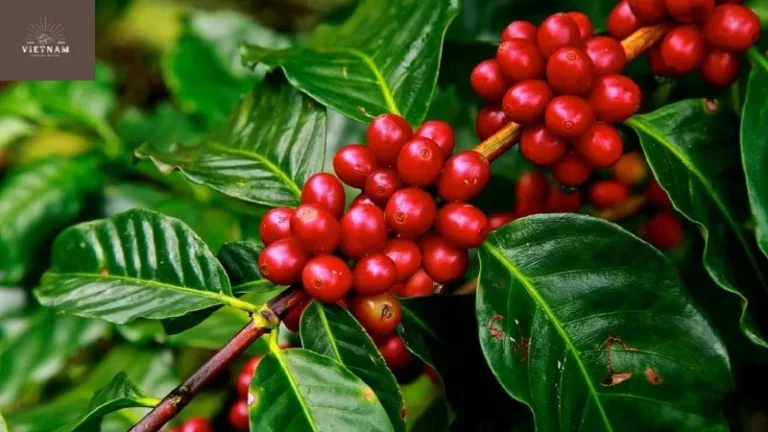
Coffee roasting can seem mystifying to the uninitiated, but the satisfaction of brewing coffee from seeds you’ve roasted yourself is unparalleled. While the roasting process is the star of the show, what you do immediately afterwards can make or break the flavor of the final product. Properly chilling just-roasted coffee seeds is one of the most important steps for achieving optimal taste and aroma.
Read on to learn the best practices I’ve developed over my years of experience for how to cool coffee beans after roasting. Follow the guidance in this article, and you’ll have delicious, fragrant, freshly-roasted coffee to enjoy for days to come.
Home roasting is the process of grilling coffee at home to enjoy recently roasted seeds. Assuming one is a home roaster, it is worth investing in a popcorn popper, which can produce excellent results. The touch of freshly roasted coffee can greatly affect the taste and aroma that coffee needs. So, for those who have coffee as a hobby, home grilling is definitely worth considering.
Why Cooling Beans Quickly Matters
Coffee seeds are at their peak immediately after grilling but will start to steadily decline in quality if not properly cooled. The longer the roasted seeds remain at high heat levels, the more the critical flavors and aromas will break down.
Rapid chilling stops the grilling process and helps lock in the coffee’s optimal flavor compounds. The coffee bean roasting process is crucial in determining the flavor of the brewed coffee. Quick chilling also prevents the seeds from continuing to roast from residual heat – something you want to avoid, as it leads to over-roasted seeds.
So aim to chill your seeds down to room heat levels as soon as possible after grilling. This generally means getting them down below 100°F within 5-10 minutes or less. Follow my recommended ways below to make rapid chilling a breeze.
how to cool coffee beans after roasting
Roasting your own coffee beans can be a rewarding and delicious experience. Starting with green seeds, you can use a roaster to create the perfect roast for your taste. The flat surface of the roaster ensures even grilling, while the fan helps maintain the ideal heat levels. Once roasted, you can sample the seeds and add sugar to your liking.
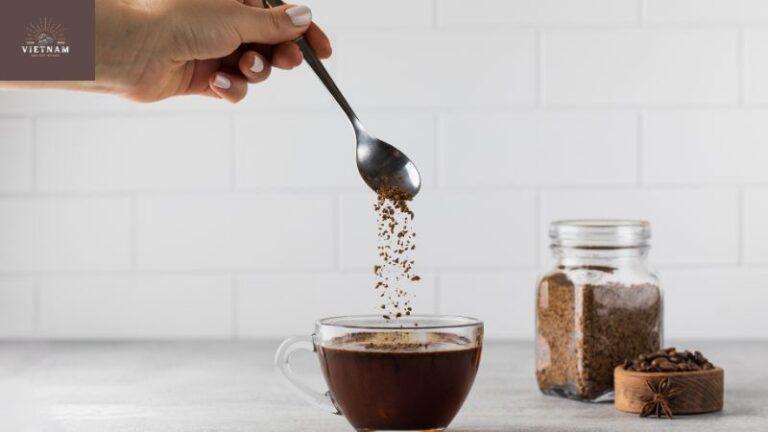
Finally, you can bag and package your freshly roasted seeds, being somewhat tricky as humidity can spoil the flavor. With several hundred seeds, you can enjoy the aroma and flavors of a professional coffee shop in the comfort of your own home.
Use a Metal Sieve or Colander
My go-to way is to pour the hot seeds into a metal sieve or colander. Choose one with relatively fine mesh – you don’t want the seeds falling through!
The increased surface area of the mesh helps release heat quickly. I suggest placing the sieve over a heatproof bowl or rimmed baking sheet to catch any chaff or broken seeds that fall through.

Stir the seeds frequently with a spatula or spoon as they chill. This keeps them moving so no seeds remain in contact with the hot metal too long.
Spread seeds on a Baking Sheet
Another simple and effective option is to spread the seeds in a thin, even layer across a rimmed baking sheet or sheet pan. Use a sheet with good conductivity like aluminum or stainless steel.
The increased surface area exposed to the ambience will allow the seeds to chill rapidly. Just like with the sieve way, stir the seeds frequently with a spatula to keep them moving.
Use a Coffee grilling chilling Tray
For larger batches or more frequent grilling, consider getting a specialized coffee grilling chilling tray. These have fins or mesh bottoms to maximize ambience flow and chilling.

Coffee beans after roasting are at their best. The taste and aroma are intensified, providing a delightful experience for coffee lover. Simply pour the hot seeds into the tray after grilling. The grooved interior design will do the rest, chilling your seeds down in minutes while containing any chaff or small bits that break off.
Employ a coffee grilling Drum
A rotating coffee grilling drum is ideal for chilling seeds with minimal labor. After roasting in the drum, set it to the “chilling” setting which will continuously tumble the seeds.
The constant motion prevents the seeds from overheating on contact with the hot metal. Most drums can chill a batch down in 5 minutes or less!
Use a coffee grilling chiller
Dedicated coffee grilling chillers are a luxury option, but work extremely well. They pull in ambient ambience and blast it through the seeds to lower the heat levels fast.
Just dump your hot seeds in the intake chute after roasting, and chilled air will circulate around the seeds as they tumble inside the drum. Outstanding chilling with minimal effort required.
Things to Avoid for Optimal chilling
Now that you know the best practices for fast, flavor-preserving chilling ways, here are a couple things to avoid:
- Don’t use plastic, glass, or ceramic containers – Materials like these do not conduct heat well, leading to slower chilling times. Metal, mesh, and air chilling ways are much more effective.
- Don’t let seeds sit stagnant after roasting – Stirring or tumbling the seeds ensures even, quick chilling. Letting them sit piled up can lead to further roasting and baking some seeds while others stay piping hot in the middle.
- Don’t chill too slowly – As mentioned earlier, you want to get the seeds down near room heat levels as soon as possible after roasting to lock in flavors. Take the extra few minutes to use proper chilling ways.

Follow my recommended guidelines and you’ll be rewarded with amazing tasting coffee every time you roast a new batch at home. Let me know if you have any other questions – I’m always happy to share more coffee grilling tips and tricks!
Key Takeaways:
- Chill coffee seeds quickly after roasting to stop the roasting process and preserve optimal flavors.
- Aim to reduce the bean temperature to room temperature within 5-10 minutes.
- Effective chilling ways include using metal sieves, spreading on baking sheets, purpose-made chilling trays or drums, and mechanical coolers.
- Avoid slow chilling like letting seeds sit stagnant in poor heat-conducting containers.
- Stirring or tumbling seeds helps disperse heat evenly for fast, even chilling.
Frequently Asked Questions
How long can roasted coffee seeds be left uncooled or at hot temperatures?
Ideally less than 5 minutes. The longer seeds are left hot, the more the flavor will degrade. Cool as soon as possible after roasting.
Can I let the seeds cool overnight or for many hours before storing?
No, you should ideally store seeds within an hour of roasting/cooling. Leaving them out too long exposes them to oxygen and moisture which causes stale flavors.
Should I let the seeds rest for degassing before storing?
Resting overnight is sufficient for degassing. For best flavor preservation, you don’t want to leave them out more than 12-24 hours before storing in an airtight container.
Can I spray water on the seeds while cooling?
No, introducing any moisture can allow mold growth. Dry cooling methods are best.
Is it bad if some seeds get over-roasted from residual heat during cooling?
Yes, over-roasted seeds can introduce bitter flavors. Proper stirring/tumbling ensures even cooling for all seeds.
Conclusion
With the simple yet effective cooling methods outlined above, you can be confident your home-roasted coffee seeds will retain their fresh flavors and aromas. Quick cooling immediately after roasting is the key to getting the most out of the bean’s complex qualities.
Always opt for high-conductivity cooling tools like metal sieves and trays. Keep the seeds moving for even results, and get them into an airtight container soon after cooling for storage. Follow this expert guidance for the best-tasting roasted coffee every time.
The joy of a great cup of coffee starts with proper post-roasting care. Happy roasting and brewing! Want to read more about coffee beans? Please visit the website: vietnamcoffeebeans.com