Have you ever wondered how those little brown beans get transformed into the delicious roasted coffee we all know and love? Grilling coffee at home can be an incredibly rewarding and cost-effective process with the right techniques. As a barista with over 10 years of experience, I’m excited to walk you through the complete steps to roasting coffee beans at home.
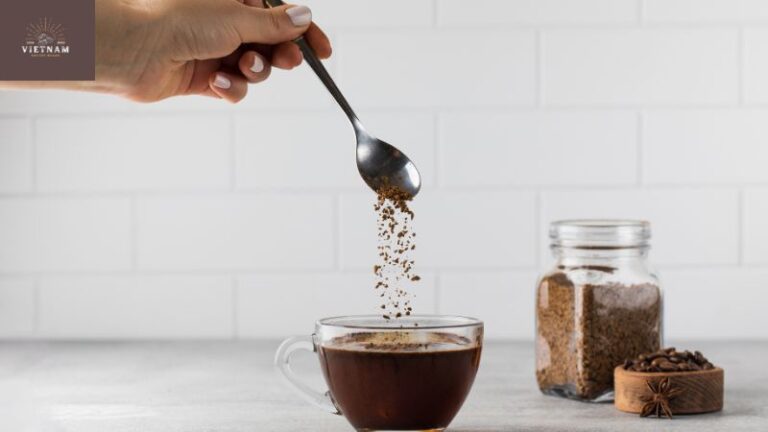
Home coffee roasting is becoming increasingly popular among coffee enthusiasts. With the help of a coffee roaster, individuals can now enjoy the freshly roasted aroma and flavor of a cup of coffee brewed with their own roasted seeds. Home coffee roasting machines have made it easier and more accessible for people who want to roast their beans. The first and second crack of the beans have reached determine the development time, leading to the desired roast level. Whether it’s for personal consumption or starting a small coffee company, home coffee roasting offers a wonderful and fulfilling experience.
Key Takeaways:
- Green coffee beans must be roasted to bring out the aromatic oils and develop the flavor.
- Home roasting can be done with methods like oven, popcorn popper, or purpose-built roaster.
- An ideal roast takes 8-12 minutes and reaches 390-410F internal temperature.
- Listen for cracking sounds to determine light, medium, or dark roast levels.
- Cool the beans quickly after roasting to stop the cooking process.
- Rest the beans for 8-24 hours before brewing for best flavor.
Roasting coffee is equal parts science and art. Follow these steps properly and you’ll be rewarded with café-quality coffee made right in your own kitchen!
To achieve a darker roast, various brewing methods can be utilized. One option is using a stainless steel popcorn machine, which can roast coffee beans in just 12 hours. This method works well for those who prefer a smoky, bold flavor in their espresso. Roasting at home allows for customization and ensures an even roast. During the process, chaff, the outer skin of the coffee bean, is released and should be carefully removed. It is also important to stir the beans consistently for an even roast.
Choose Your Green Coffee Beans
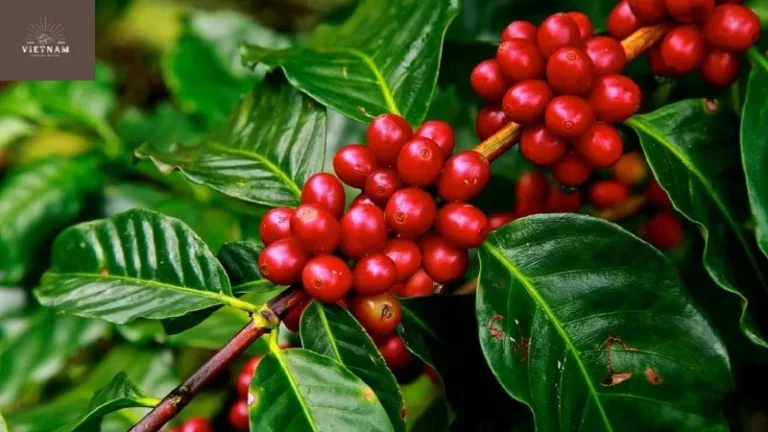
Coffee plants produce coffee cherries, which hold the green coffee beans inside. Green coffee beans have none of the aromas or flavors that we associate with coffee. The grilling process transforms them into the brown beans we all recognize.
For home roasting, look for high-quality 100% arabica beans from specialty coffee suppliers. I recommend getting sample packs so you can try beans from different growing regions. Some excellent origins for beginners are Central and South America, Indonesia, and Africa.
The varieties of bean have different flavor profiles too. For example, I find Colombian beans have a smooth, classic coffee taste, while Indonesian beans are more intense and earthy.
If you’re an avid coffee lover, investing in a home roaster can be a game-changer. With a home coffee roaster, you have the freedom to keep roasting until you achieve your desired flavor and intensity. To get started, you can buy green coffee beans from places like Sweet Maria’s or your local coffee shops. Thanks to the comment section on Sweet Maria’s website, you can find useful tips and recommendations from experienced home roasters. The roasting process involves removing the husk of the coffee bean, and it’s best to experiment with one factor at a time to understand its impact on the final taste.
Steps to roasting coffee beans at Home
There are a few options for manually roasting beans at home:
- Oven: Roast beans spread on a baking sheet at 425°F, stirring frequently.
- Popcorn popper: Place green beans in popcorn popper. Great for small batches.
- Purpose-built roaster: Rotating drum roaster designed for home use. Offer precise control.
I recommend a basic home drum roaster for beginners. Models like the FreshRoast SR540 provide a portable, mess-free setup with features like time and temperature controls.
Make sure you roast in a well-ventilated space. I prefer my garage or backyard patio when the weather permits.
Roast Your Beans
Now comes the fun part – roasting! Here are the step-by-step stages:
- Weigh out your green beans. Start with 4-8 oz as you learn.
- Pour beans into the roaster and turn on the heat. I aim for 390-410°F.
- The beans will slowly turn yellowish and emit grassy smells. This is the drying phase.
- Around 8-10 minutes in, you’ll hear light cracking sounds. This is first crack beginning.
- First crack signifies the beans are light roast. I recommend novices stop here.
- If continuing, first crack finishes around 11-12 minutes. Then beans enter second crack around 14-16 minutes.
- For medium roast, end roast just before second crack. For dark roast, end in middle of second crack.
- Roasting takes 12-15 minutes total. Target an internal temp of 390-410°F.
- Pour out beans immediately to stop the roasting process.
Use your eyes, ears, nose, and temperature readings to determine ideal roasting times. It takes practice to master “reading” the beans. Take detailed notes each time on timing, temperature, bean appearance, etc. to calibrate your technique.
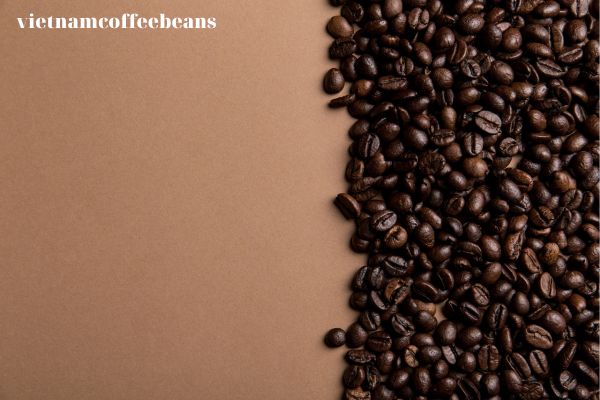
Light, Medium, and Dark Roasts
The different stages of crackings represent light, medium, and dark roasts:
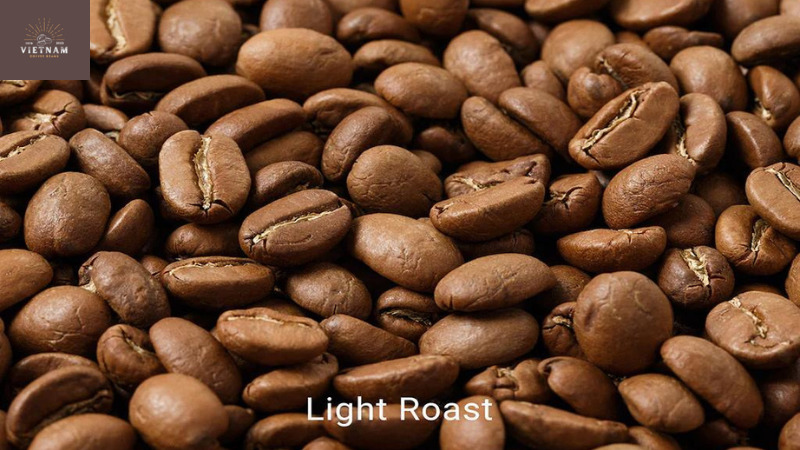
- Light roast: Starts first crack, stops before completion. Light brown color.
- Medium roast: Ends midway through first crack. Richer brown color.
- Dark roast: Into second crack. Very dark brown/oily beans.
I suggest new roasters stick to light roasts, as the flavors are more complex and forgiving. Medium roasts are bolder, while dark roasts have a smokey intensity.
Cool the Beans
After dumping the hot roasted beans out of the roaster, they need rapid cooling to stop the roasting process. I spread beans in a thin layer across a large sheet pan and stir constantly. Aim for room temperature within 3-5 minutes.
You can also use a metal colander or mesh strainer. Just keep agitating the beans. Proper cooling locks in aromatics and prevents over-roasting.
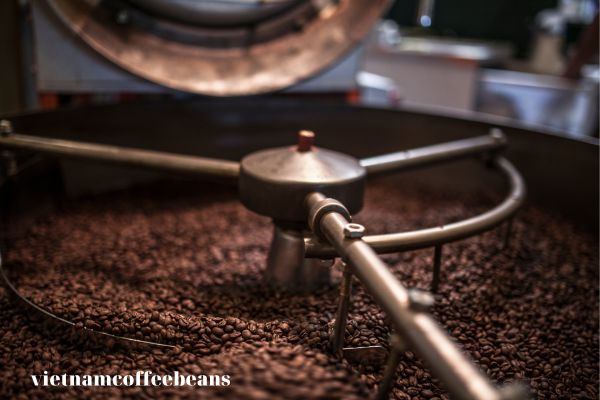
Coffee enthusiasts know that the key to a perfect glass of coffee lies in the roast. With the right roast time and temperature, flavors and aromas are brought to life. That’s why having a purpose-built coffee roaster is essential for every coffee lover. After carefully selecting the beans, the coffee roasting community enjoys the process of roasting their own coffee beans to achieve the desired flavor profile. Once the roast is complete, the beans need to cool down to preserve their flavors. With a purpose-built roaster, you can continue roasting and experimenting until you find the ideal roast for that perfect cup of coffee.
Rest the Beans
Freshly roasted beans need to rest for the flavors to fully develop. Let beans rest in an airtight container at room temperature for 8-24 hours before grinding and brewing. With the variety of coffee roasters available, there is no shortage of options to explore and discover.
During this rest, gases from the roasting process get absorbed back into the beans. This degassing or “off-gassing” period significantly improves the taste.
I let lighter roasts rest on the shorter end (8-12 hours) and medium/dark roasts for longer (12-24 hours). Trial to see what you prefer for different beans.

Roasting your own coffee beans is a great way to have control over your brew. It’s important to find the right grind size to extract the desired flavor. Additionally, during the roasting process, the chaff needs to be removed for a cleaner taste. Thanks for the comment, it’s helpful to receive feedback. For those starting out, roasting small batches allows for experimentation and learning.
There are various ways to roast coffee, such as using a popcorn popper or a dedicated roasting machine. Whichever method you choose, it’s essential to be consistent with your variables to achieve a consistent roast. If you’re looking for a unique coffee experience, you should definitely try coffee at Roasting Plant.
Store and Use Your Roasted Coffee
Once rested, transfer the roasted coffee to an airtight container. Store in a cool, dark place to maintain freshness for 2-4 weeks. For maximum shelf life, keep beans frozen to preserve volatile oils. Roasting Your Own Coffee Beans is a rewarding experience that allows you to have control over the flavor and aroma of your coffee.
Enjoy your home-roasted coffee within a month for the freshest flavor. Brew up a test batch once rested to start optimizing your roast. Adjust the temperature, time, and roast degree to match your taste preferences.
The satisfaction of brewing that first perfect cup from beans you roasted yourself is priceless for any coffee lover. I hope these steps give you the confidence to begin roasting your own coffee at home. Let me know if you have any other questions – I’m always happy to help a fellow roasting coffee bean rules!
Frequently Asked Questions
What type of green beans are best for beginners?
For starting out, I recommend a Central/South American origin like Guatemala or Colombian Supremo. They have an approachable, classic coffee profile. Stay away from very light beans like Ethiopian which can be tricky.
Can you reuse a popcorn popper for roasting?
You can try it, but popcorn poppers aren’t ideal. Their chambers are coated in oils, so your coffee will absorb old flavors. Get an air popcorn popper instead or use a basic drum roaster.
How do you know when first crack starts and ends?
Listen for light popping sounds, like popcorn. First crack starts around 8 minutes in, peaks around 10 minutes, and ends around 11-12 minutes. It lasts 2-3 minutes total.
Is home-roasted coffee safe to drink?
Absolutely! As long as you store in an airtight container after the resting period, home-roasted coffee is just as safe as commercial coffee. Discard beans if you ever detect smoke, paint, or chemical smells.
Can you reuse coffee bean bags?
Yes, you can reuse bags if fully emptied out first. Make sure no smells linger. I recommend special one-way valve bags that allow gas release while keeping air out.
Conclusion
Roasting coffee at home lets you experience the full flavor potential of fresh beans. Follow the steps of choosing quality green beans, manual roasting for 8-15 minutes, rapidly cooling, resting for 8-24 hours, and storing properly. Adjust your times, temperatures, and roast degree to achieve desired tastes. With practice, you’ll gain knowledge and confidence to roast coffee just as skillfully as any artisan cafe.
Want to read more about coffee beans? Please visit the website: vietnamcoffeebeans.com